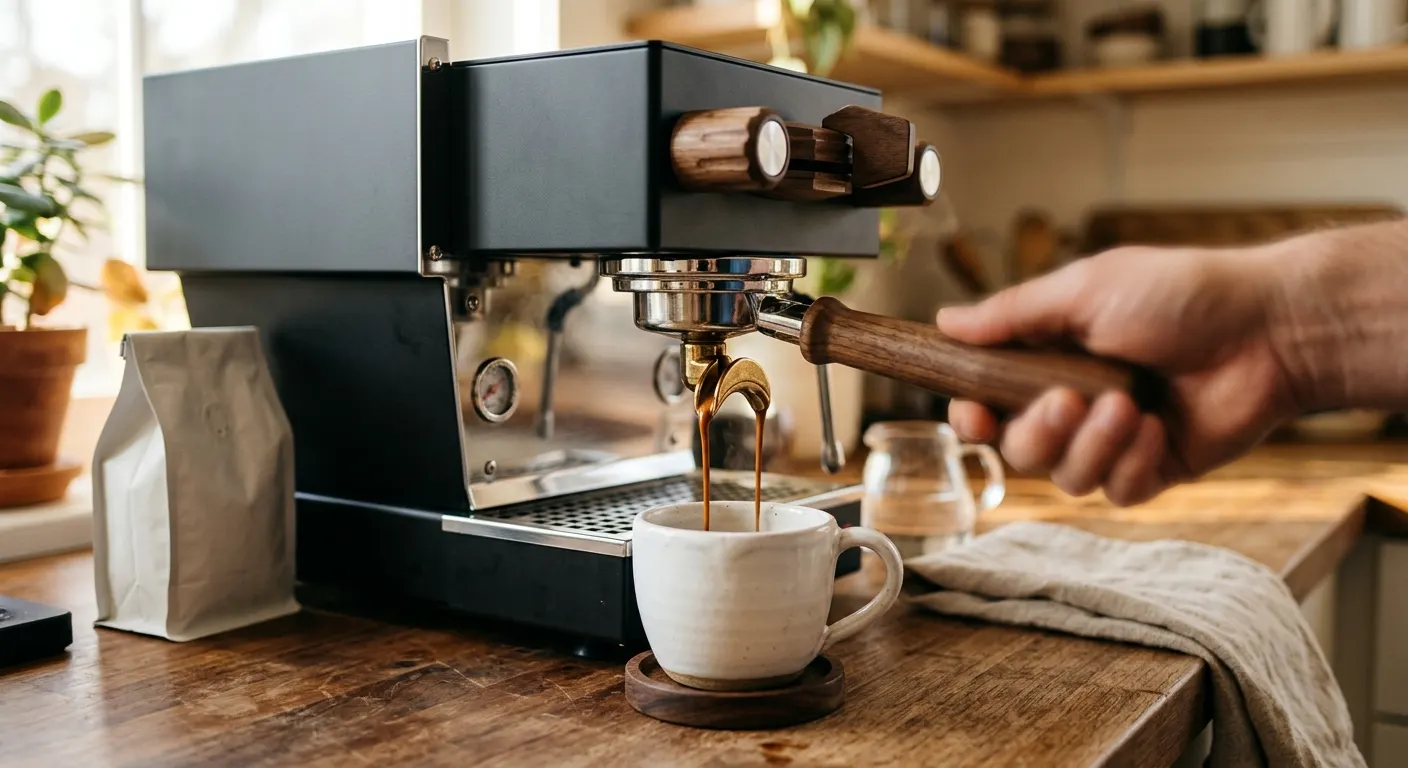
How to Dial In Espresso: The Gear You Actually Need
By PullRatio . 12 min read . Updated June 2026
Dialing in espresso means finding the grind setting and dose that produces a balanced, full-flavored shot from your specific beans on your specific machine. It sounds scientific and it is, but the process is straightforward once you have the right tools and a clear sequence to follow. The two instruments that make dial-in work are a scale and a grinder with stepless or fine-stepped adjustment. Everything else is refinement. This guide walks through the complete process and identifies the specific gear at each step.
Quick answer
Weigh an 18 g dose, target 36 g out in 25 to 30 seconds for a 1:2 ratio, then adjust the grinder, not the dose, to hit that window. Grind finer if the shot runs sour and fast, coarser if it runs bitter and slow. A 0.1 g scale and a fine-stepped grinder make this repeatable.
This guide contains affiliate links. PullRatio may earn a commission at no cost to you.
What dialing in actually means
Every new bag of coffee has a slightly different roast level, density, and moisture content. Every change in humidity, temperature, or bean age shifts the grind setting that produces optimal extraction. Dialing in is the process of finding the right grind size for the conditions you have today.
A correctly dialed-in shot yields in ratio to dose (typically 1:2 by weight, so 18 g in and 36 g out), takes 25 to 30 seconds from first drip to target yield, and tastes balanced rather than sharply sour (underextracted) or flat and bitter (overextracted). Those three numbers, dose, yield, and time, are the diagnostic signals you track.
The scale: your primary dial-in instrument
Without a scale, dialing in is guesswork. You cannot track yield, which means you cannot isolate grind adjustment effects from yield variation. A scale makes the process methodical.
The Acaia Lunar Scale is the tool professionals use for a reason: 0.1 g resolution with a response time fast enough to catch the end of the shot live. Its Bluetooth app logs every shot, which turns a series of pull-and-adjust cycles into a readable record of what changed and what improved.
For home baristas not yet ready for the Acaia investment, the Timemore Black Mirror Nano Scale produces the same core function at under $70. The response time is slightly slower but adequate for tracking yield on most shots. The Felicita Parallel Scale is worth considering if your drip tray clearance is tight and other scales do not fit comfortably.
Use the scale for two measurements: dose in (weight of dry coffee before grinding, ideally measured directly into the portafilter) and yield out (weight of liquid espresso into the cup). When these two numbers are consistent, your technique is consistent.
The grinder: where dial-in actually happens
You cannot dial in with a grinder that has only three or four espresso-range settings. The grind adjustment needs enough granularity to move in small increments. Stepless grinders like the Niche Zero and DF64 Gen 2 Single Dose Grinder provide infinite adjustment within the espresso range. The Baratza Encore ESP has stepped settings with enough options to cover the range for most beans.
The basic dial-in sequence: start at a medium-fine setting, pull a shot at your target dose (18 g is a standard starting point for a double), and note the yield and time. If the shot runs fast and sour in under 20 seconds, grind finer. If it runs slow and bitter or stalls out, grind coarser. Move in small increments: one or two steps on a stepped grinder, a small rotation on a stepless ring.
Each grind adjustment takes one to two shots to fully clear the previous setting from the retention path, especially on higher-retention grinders. Give new settings a full shot to purge before judging the result.
Puck prep that makes dial-in consistent
Inconsistent puck prep introduces a variable that makes it impossible to isolate grind changes. If two consecutive shots at the same grind setting produce different times, the culprit is often puck preparation rather than grind inconsistency.
Use a Normcore WDT Tool before every shot during dial-in. Clip a Normcore Dosing Funnel to the portafilter, stir in a slow circular motion until the bed is smooth, then tamp with a Normcore Calibrated Tamper V4. When pressure and distribution are consistent, the grind setting becomes the only variable you are changing.
Add a Normcore Puck Screen 58.5 mm on top of the puck before locking in. The screen promotes even water distribution from the shower screen, which reduces the variable of uneven wetting during dial-in.
Reading the shot: diagnostic signals
Once you have a scale and consistent puck prep, these are the signals to read during each shot.
Yield and time are the primary diagnostics. A shot that yields 36 g in 25 to 30 seconds at 18 g dose is in the target window. Adjust grind coarseness if either number is out of range.
If you own a Bottomless Portafilter for Gaggia Classic Pro (58 mm) or any 58 mm naked portafilter, use it during dial-in. Even extraction looks like a single, unified bloom building slowly across the basket base. Channeling looks like streaks, sprays, or off-center blooms that indicate water bypassing the puck.
Taste is the final arbiter. A technically correct shot (right ratio, right time) that tastes sharp and hollow is under-roasted or too light for espresso extraction. A balanced shot should have sweetness, some body, and a clean finish. If the numbers are right and the taste is still wrong, the issue may be the beans rather than the technique.
Fresh beans and rest time: the variable no gear solves
No amount of good gear compensates for beans that are too fresh or too old. Espresso roasts perform best between 7 and 21 days after roast date. Coffee roasted less than 5 days ago is gassy and produces uneven extraction regardless of grind or technique. Coffee more than 30 days past roast date is stale and flat.
Check the roast date on the bag before blaming your grinder or technique. This is one of the most common sources of frustration when dialing in at home. A well-roasted single-origin at 10 days post-roast with a properly calibrated setup will always outperform stale supermarket espresso in premium gear.
Featured in this guide
Keep reading
Related comparisons
Related roundups
FAQ
Frequently asked questions
What dose, yield, and time should I aim for when dialing in?+
A common starting point for a double is 18 grams of dry coffee in, 36 grams of espresso out, pulled over 25 to 30 seconds. That is a 1:2 ratio. Treat those numbers as a baseline rather than a rule, then adjust grind until the shot lands in the window and tastes balanced for your specific beans.
Should I grind finer or coarser when my shot tastes wrong?+
Taste tells you the direction. Sour and sharp usually means underextraction, so grind finer to slow the flow and pull more. Bitter and harsh usually means overextraction, so grind coarser to speed it up. Change one variable at a time and move in small steps, giving each new grind setting a full shot to clear the retention path.
Why are my two shots different at the same grind setting?+
When the grind is unchanged but results vary, the culprit is usually puck prep rather than the grinder. Inconsistent distribution or tamp pressure changes how water flows shot to shot. Use WDT and a consistent, level tamp every time so the grind setting becomes the only thing you are actually changing while dialing in.