WDT Tools and Distribution: What Actually Matters
By PullRatio . 9 min read . Updated June 2026
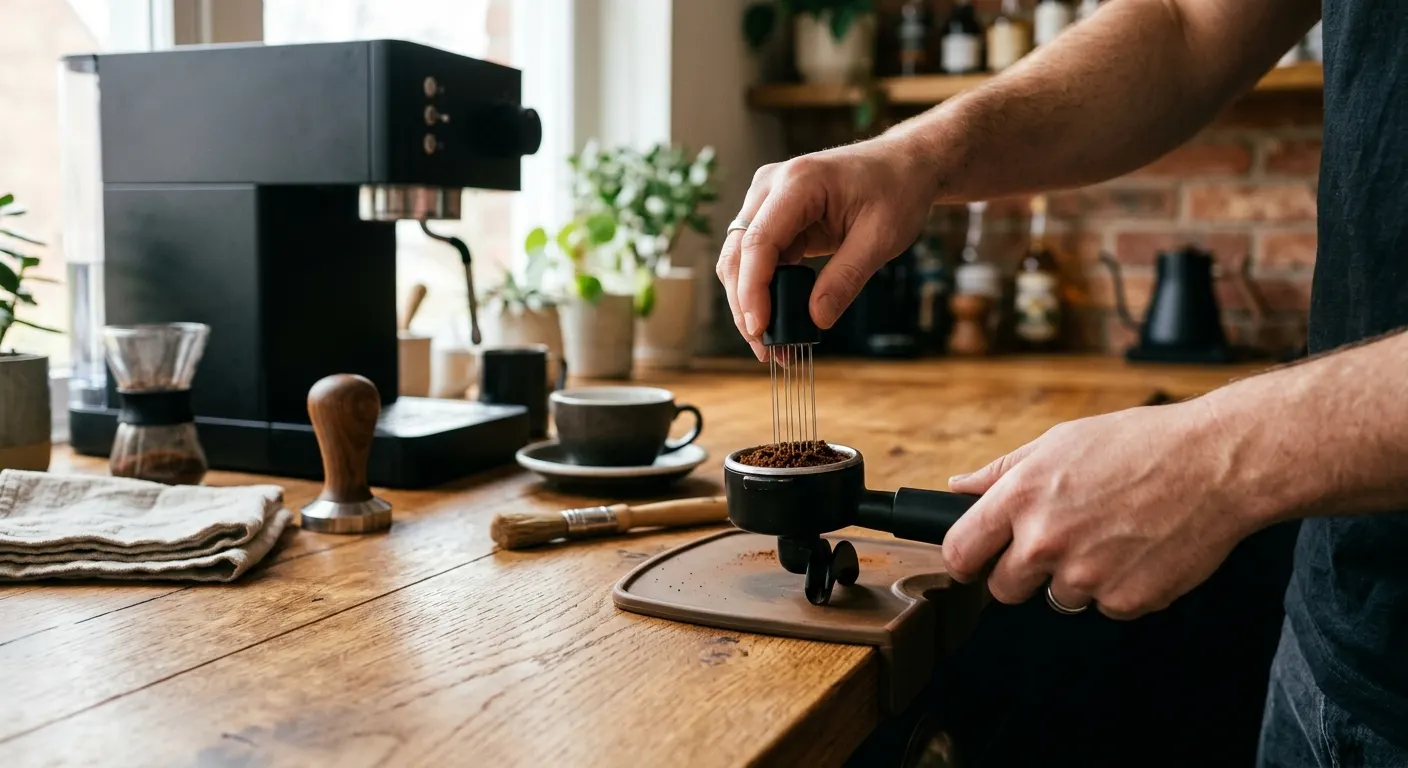
The Weiss Distribution Technique, shortened to WDT, is the single most discussed puck preparation improvement in home espresso. The concept is simple: use thin needles to break up the clumps that form when ground coffee falls into the portafilter basket, then distribute the grounds evenly before tamping. The results are real and measurable: shots that channeled, pulled uneven, or tasted sour often improve immediately after adding WDT to the workflow. This guide covers what WDT actually does, which tools are worth buying, and the technique that produces consistent results.
Quick answer
WDT uses thin 0.3 mm to 0.4 mm needles to break the clumps that form as ground coffee falls into the basket, so the tamp compresses an even bed instead of locking in unevenness. Stir gently from edge to center until the surface is smooth. This stops channeling and fixes shots that pulled sour or uneven.
This guide contains affiliate links. PullRatio may earn a commission at no cost to you.
Why coffee clumps matter for espresso
Freshly ground coffee exits the burrs with static charge and moisture that causes fine particles to clump together. A loose, clumpy grind bed has uneven density: some areas are packed tight with clumps, others are open and loose. When 9 bar of water pressure hits that uneven bed, it finds the loose channels and flows through them almost entirely, while the dense clumps extract slowly or not at all. The result is a shot that is simultaneously over-extracted in some zones and under-extracted in others, which tastes sharp, sour, and hollow.
WDT physically breaks up those clumps before tamping so the tamp compresses an even bed rather than locking in the unevenness. An even bed under even pressure extracts evenly, which is what produces a balanced, full-flavored shot.
The tools that work: needle diameter matters
The needle diameter is the most important spec in a WDT tool. Too thick and the needle drags through the bed without breaking clumps. Too thin and the needle bends or breaks. The community has converged on 0.3 mm to 0.4 mm as the effective range.
The Normcore WDT Tool uses 0.35 mm needles, which sit near the center of that range. The weighted handle helps maintain a consistent spinning motion during distribution. It is the tool most often recommended after testing multiple options.
The IKAPE WDT Tool uses 0.4 mm needles and is the entry-level option for baristas who want to test whether WDT improves their shots before buying a premium tool. At under $25, it is the right place to start.
Avoid homemade WDT tools made from thick acupuncture needles mounted in erasers or corks. The needle gauge is unpredictable, the handle balance is poor, and the results are inconsistent. A proper tool costs $15 to $35 and works reliably.
WDT technique: the steps that produce results
Clip a Normcore Dosing Funnel to the portafilter rim before grinding. The funnel keeps grounds contained during the WDT stir, which matters when you are stirring at the basket edge and the grounds are at risk of spilling.
Grind directly into the portafilter, then hold the WDT tool lightly between your fingers at the top of the handle. Insert the needles into the coffee bed at about a 60-degree angle. Stir in a slow circular motion, working from the outer edge of the basket toward the center, then back out. Cover the whole bed in two to three full rotations.
The goal is to break every visible clump and produce a smooth, level surface. Do not stir aggressively or plunge the needles to the basket floor; that over-aerates the bed and can introduce inconsistency of its own. Gentle, thorough stirring is more effective than vigorous poking.
Remove the funnel, tamp with a Normcore Calibrated Tamper V4, and level the tamp with a single vertical press. The puck should feel firm and even. Then add a Normcore Puck Screen 58.5 mm before locking in the portafilter.
Distribution tools versus WDT tools: not the same thing
Distribution tools like the Normcore Distribution Tool V3 and Pesado Distribution Tool level the top of the coffee bed using fins rather than needles. They do not break clumps; they move surface-level grounds into an even plane before tamping.
WDT tools break clumps throughout the depth of the bed. Distribution tools level the surface. They address different problems, and many baristas use both: WDT first to de-clump, then a distribution tool or simple hand leveling before tamping.
If you have to choose one, start with the WDT tool. Clumping happens throughout the bed and causes channeling; surface unevenness is less impactful because tamping levels it anyway. Once your shots are channel-free and consistent, add a distribution tool if you want to refine further.
How to know if WDT is working
The fastest diagnostic tool is a Bottomless Portafilter for Gaggia Classic Pro (58 mm) if you own a 58 mm machine. A bottomless portafilter exposes the puck base during extraction. If WDT is working, you will see a single, even bloom of espresso across the entire basket base. If channeling persists, you will see streaks, sprays, or uneven blooms from specific spots.
If you have a spouted portafilter, use the Acaia Lunar Scale or Timemore Black Mirror Nano Scale to track yield over time. Consistent weight at a consistent time is the best proxy for even extraction when you cannot see the puck directly.
Most baristas notice the WDT improvement within three to five shots. If shots are still channeling after consistent WDT technique, the next variable to check is grind coarseness (too fine can cause channeling even through good distribution) and dose weight.
Featured in this guide
Keep reading
Related comparisons
Related roundups
FAQ
Frequently asked questions
What needle diameter should a WDT tool have?+
The community has converged on roughly 0.3 mm to 0.4 mm. Thicker needles drag through the bed without breaking clumps, while much thinner ones bend or break. Around 0.35 mm sits in the sweet spot, breaking up clumps without over-aerating the puck. Needle diameter is the most important spec in a WDT tool, so check it before buying.
How long should I spend stirring with a WDT tool?+
About 15 to 20 seconds. Insert the needles at a slight angle and stir in a slow circular motion from the outer edge inward and back, covering the whole bed in two or three rotations until the surface looks smooth with no visible clumps. Gentle and thorough beats vigorous poking, which can over-aerate and add its own inconsistency.
How do I know if WDT is actually improving my shots?+
The clearest test is a bottomless portafilter: even extraction shows a single unified bloom across the basket base, while channeling shows streaks and sprays. With a spouted portafilter, track yield and time on a scale instead, since consistent weight at a consistent time signals even extraction. Most baristas notice the difference within three to five shots.