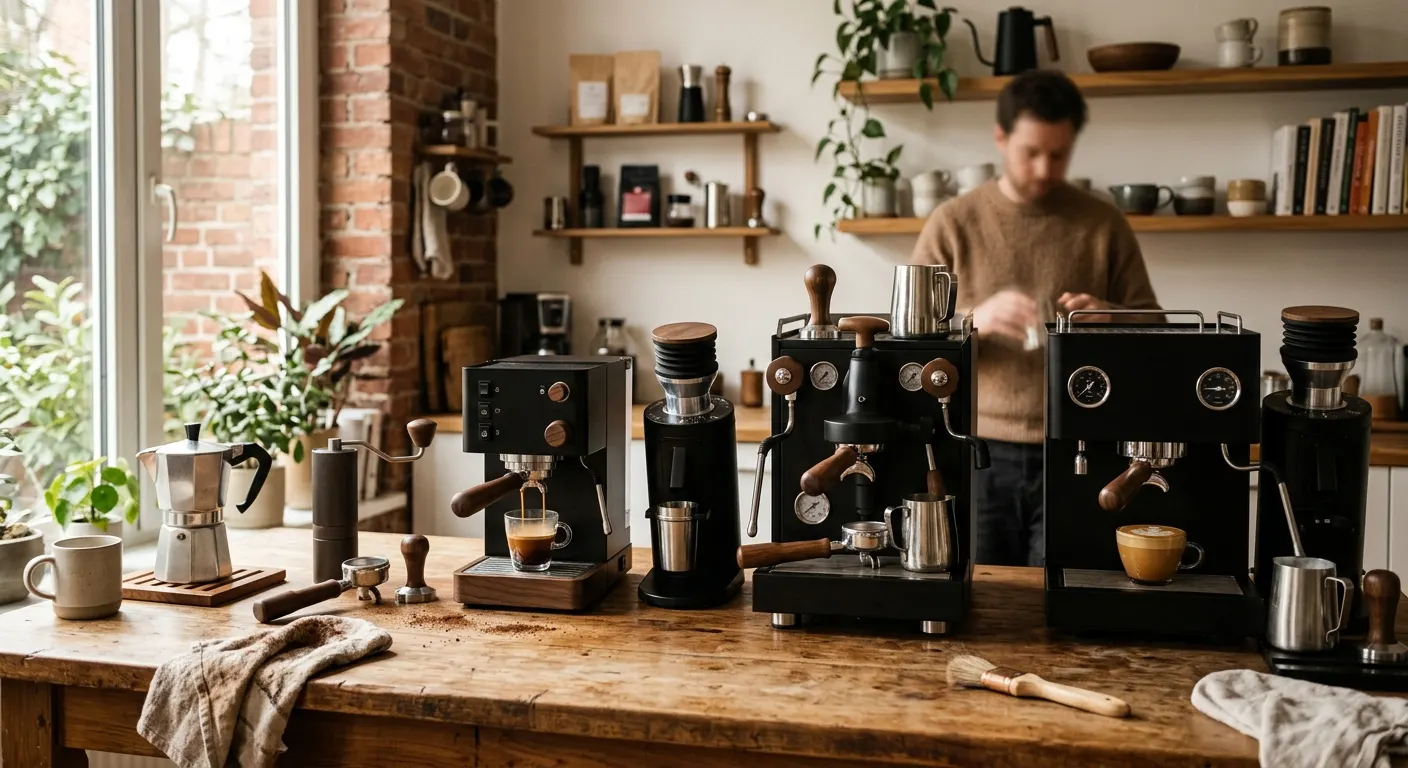
The Espresso Upgrade Path: Bambino to Prosumer
By PullRatio . 8 min read . Updated June 2026
The most expensive way to build a home espresso setup is to buy in the wrong order: a prosumer machine fed by a weak grinder, or a premium machine before you own a scale. The cup does not care which machine cost the most; it responds to grind consistency, even distribution, and an honest basket long before it responds to a second boiler. This guide lays out the spending order that produces the largest improvement per dollar, starting from a Breville Bambino Plus and ending at a prosumer dual boiler, with the grinder, puck prep, and scale slotted in where they actually move the cup.
Quick answer
Spend in the order that the cup rewards: a capable first machine like the Bambino Plus, then a real grinder, then puck-prep tools and a scale, then a precision basket, and only then a prosumer dual boiler. The grinder and puck prep raise quality far more per dollar than the machine, so a dual boiler comes last, not first.
This guide contains affiliate links. PullRatio may earn a commission at no cost to you.
The principle: spend where the cup responds
Espresso quality is set by a chain: grind consistency, even distribution, an honest basket, a stable extraction, and only then the conveniences a more expensive machine adds. Each link has to be sound for the next to matter. A dual boiler poured into a weak grinder still tastes like the grinder, because the grinder is upstream of everything the boiler does.
That is why the upgrade path is not the same as the price ladder. The order below is ranked by improvement per dollar, not by what costs the most. Follow it and each purchase buys a visible jump in the cup. Skip ahead to an expensive machine and you pay for capability you cannot taste yet, because an earlier link is still the bottleneck.
The path starts with a capable, low-cost machine and a real grinder, layers in the puck-prep and measurement tools that cost little and return a lot, swaps the basket, and reaches the prosumer machine only once the rest of the chain can show what it does. Spend in this order and you rarely buy the same thing twice.
Step 1: a capable first machine
Start with a machine that is genuinely capable but does not consume the budget the grinder needs. The Breville Bambino Plus at $300 to $350 is the entry point the specialty coffee community actually recommends: a 3-second thermojet heat-up, a real 9 bar extraction, an auto-steam wand that is forgiving while you learn, and a manual steam mode for when you want control. It leaves room in the budget for the grinder, which is where the next and larger share belongs.
If you would rather buy a single box with the grinder built in, the Breville Barista Express folds a 40 mm conical burr grinder into the machine at $600 to $700. It is the convenient all-in-one, with the caveat that the built-in grinder is fixed and cannot be upgraded independently later. The De'Longhi Dedica Arte at $150 to $200 is the answer only when counter space is the binding constraint, since its panarello wand and pressurized baskets cap the ceiling.
Whichever you choose, the machine is not the variable that limits your early shots. Resist spending here at the expense of the grinder. A modest machine with a strong grinder beats a strong machine with a modest grinder in the cup, every time.
Step 2: the grinder, where most of the budget belongs
The grinder is the single biggest variable in shot quality, so weight your spending toward it. The Baratza Encore ESP at $170 to $195 is a practical first standalone grinder, with a high-resolution espresso range, a dosing cup for 54 mm portafilters, and Baratza's repair support behind it. For a budget-constrained or travel setup, the Timemore C3 Pro Hand Grinder hand grinder at $75 to $90 makes genuine espresso for one or two shots a day, at the cost of 60 to 90 seconds of cranking per double.
When grind quality starts to feel like the ceiling, step up. The DF64 Gen 2 Single Dose Grinder at $220 to $280 brings 64 mm flat burrs, stepless adjustment, and low-retention single dosing, with the option to fit SSP burrs later. The Niche Zero at $560 to $630 is where many home baristas land and stop thinking about the grinder: near-zero retention, a stepless ring, and out-of-box consistency that pairs cleanly with any machine.
The reason the grinder outranks the machine is upgradeability and impact together. A better grinder improves every shot directly, and on the Bambino Plus path you can improve the grinder independently of the machine. That is the central argument for starting with a separate grinder rather than an all-in-one whose grinder is fixed.
Step 3: puck prep and a scale, the cheap high-return tier
This is the highest return-per-dollar tier in the whole path, and it is where most beginners underspend. A Normcore WDT Tool breaks the grind clumps that cause channeling, the most common beginner shot fault, for $25 to $35; the IKAPE WDT Tool is the $15 to $25 entry point. A Normcore Dosing Funnel clipped to the portafilter contains grounds during the stir, and a Normcore Calibrated Tamper V4 removes tamp pressure as a variable. Order the tamper in 53.3 mm for Breville or 58.35 mm for Gaggia and Rancilio.
A scale is not optional. Pulling by time alone hides the yield, and the same 30-second shot can pour anywhere from 28 to 40 grams. The Timemore Black Mirror Nano Scale gives 0.1 g resolution at $50 to $70 and is the community's standard first scale. The Acaia Lunar Scale adds faster response and Bluetooth logging if you track every pull, but the Timemore covers the core function for a third of the price.
Together these tools cost less than the gap between two grinder tiers, yet they remove channeling and turn dial-in from guesswork into a repeatable process. Buy this tier early, not late. It is the cheapest large improvement available and it makes every other piece of gear perform closer to its potential.
Step 4: the basket and a diagnostic portafilter
Once grind and puck prep are sound, the basket is the next link. A stock pressurized basket masks distribution by forcing flow through one hole, which caps quality. On a 58 mm machine, a single-wall IMS Precision Basket 58 mm or VST Ridgeless Precision Basket 58 mm removes that crutch so the puck sets the resistance and your grind and distribution finally show through in the cup. A Normcore Puck Screen 58.5 mm on top promotes even water dispersion and keeps the shower screen cleaner between cleans.
A Bottomless Portafilter for Gaggia Classic Pro (58 mm) is the most useful diagnostic accessory you can add at this stage. Removing the spouts exposes the puck base, so channeling shows as streaks and sprays and good prep shows as a single even bloom. Used for a handful of shots, it teaches distribution faster than any amount of reading and tells you exactly which puck-prep step to correct.
This tier matters most on 58 mm machines, where the precision-basket ecosystem is deep. On a 54 mm Breville, the precision options are fewer, but the puck screen, scale, and puck-prep tools all still apply and the single-wall basket the machine ships with is a functional starting point.
Step 5: the prosumer machine, last not first
Only after the grinder, puck prep, scale, and basket are sorted does the machine become the limiting link, and that is when a prosumer upgrade earns its price. The Rancilio Silvia Pro X at $1,100 to $1,300 is the natural step up: a dual boiler with PID temperature control that makes shot-to-shot temperature consistency automatic and lets you steam and brew at once, ending the single-boiler wait between pulling and steaming.
What a dual boiler buys is consistency and convenience, not a higher quality ceiling on its own. It removes temperature surfing as a skill you have to manage and removes the pause between espresso and milk, which matters most when you pull several drinks in a row. But it does this on top of a sound grinder and puck prep, not instead of them. Bought first, it would sit bottlenecked behind a weak grinder and taste no better than the cheaper machine.
If you started on the Breville Bambino Plus and built the chain in order, the move to the Rancilio Silvia Pro X is the last large purchase, and the one you make because you have genuinely outgrown single-boiler temperature management, not because the cup demands it before the rest of the setup is ready. Spend here last and every dollar before it already paid off.
Featured in this guide
Keep reading
Related comparisons
Related roundups
FAQ
Frequently asked questions
What should I upgrade first in my espresso setup?+
The grinder, then puck-prep tools and a scale, before any machine upgrade. The cup responds to grind consistency, even distribution, and an honest basket long before it responds to a more expensive machine. Spend the largest share on the grinder, add a WDT tool, calibrated tamper, and a 0.1 g scale early, and save the prosumer machine for last.
Is a dual boiler worth it for home espresso?+
Eventually, but not first. A dual boiler like the Rancilio Silvia Pro X makes temperature consistency automatic and lets you steam and brew at once, which is real convenience. But it does not raise the quality ceiling on its own, so it earns its price only after the grinder, puck prep, scale, and basket are already sorted. Bought early, it sits bottlenecked behind a weaker grinder.
Should I buy an all-in-one machine or a separate machine and grinder?+
A separate machine and grinder give you a higher long-term ceiling because you can upgrade the grinder independently. The Bambino Plus plus a Baratza Encore ESP is the common starting point. An all-in-one like the Barista Express is convenient and a single purchase, but its built-in grinder is fixed, so replacing it later means paying for a grinder you stop using.